Table of Contents (13 sections)
Baseboards play a vital role in the aesthetics and functionality of your home. They cover the joint between the wall and the floor, protecting walls from scuffs and damage while providing a polished look. Over time, baseboards can become damaged due to wear and tear, moisture, and impacts. Repairing damaged baseboards is an essential DIY project that can significantly improve your home's appearance. In this guide, we will walk you through the steps necessary to fix damaged baseboards, making it easier for you to enhance your living space.
Step 1: Assess the Damage
Before you begin any repairs, it is crucial to assess the extent of the damage. Take some time to examine the affected baseboards closely. Look for cracks, dents, peeling paint, or moisture damage. Understanding the severity of the damage will help you determine the best approach to fix it. For minor scratches and dents, a simple sanding and repainting may suffice. However, if you notice significant water damage or cracks that compromise the structure, you may need to replace sections of the baseboard or even the entire piece.
Step 2: Gather Your Tools and Materials
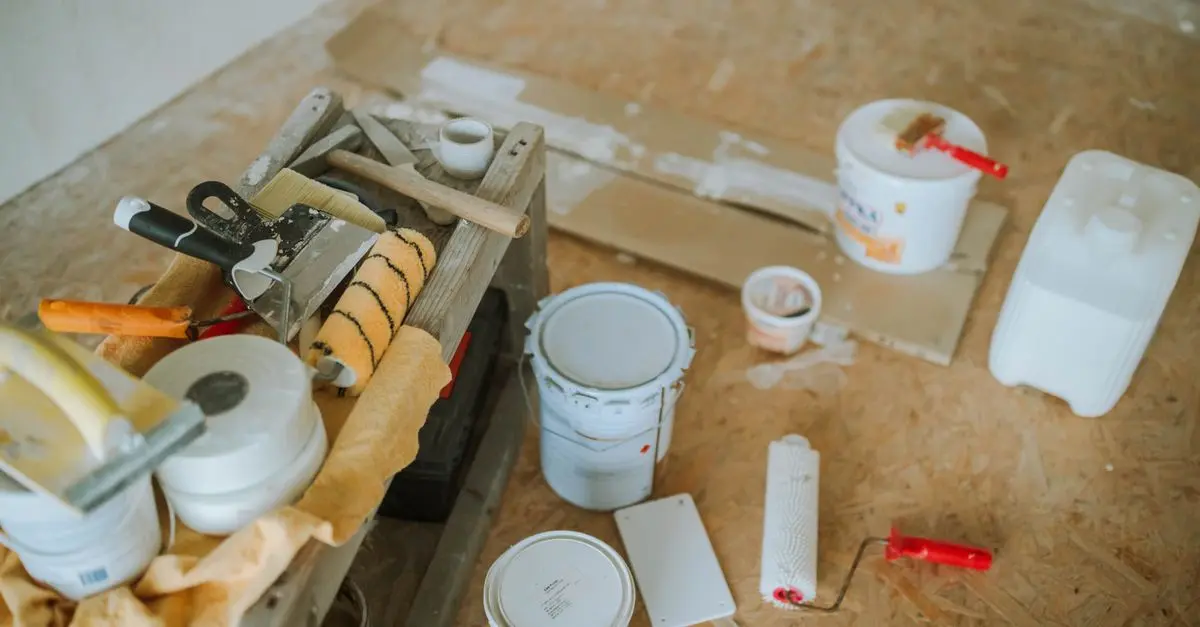
Having the right tools and materials on hand will make your repair process smoother and more efficient. Here’s what you’ll need:
- Screwdriver or pry bar: To remove any trim
- Putty knife: For applying filler
- Wood filler or caulk: To fill in gaps or cracks
- Sandpaper: For smoothing the surface
- Paint or primer: If repainting is necessary
- Paintbrush or roller: For applying paint
- Measuring tape: For measuring any replacement pieces.
Make sure to gather these materials before beginning your project to avoid unnecessary interruptions.

Maillot de bain de grossesse 1 pièce à coques fixes en fibres recyclées Multicolore Cache-Coeur Maillot de bain
3 Suisses FR
Maillot de bain de grossesse 1 pièce à coques fixes en fibres recyclées Multicolore Cache-Coeur Maillot de bain
3 Suisses FR
Step 3: Remove the Damaged Baseboard (if necessary)
If the damage is too extensive to repair with filler or paint, you may need to remove the damaged baseboard. Carefully use a pry bar or screwdriver to detach the baseboard from the wall. Take your time during this process to avoid damaging the wall or the surrounding trim. Once the baseboard is removed, clean any debris from the wall and floor, making it ready for the next steps of repair or replacement.
Step 4: Repair the Baseboard
If your baseboard is only lightly damaged, you can often repair it with wood filler or caulk. For small cracks and holes, apply the wood filler with a putty knife, making sure to overfill slightly. Once it has dried, sand it down smoothly. For larger gaps, caulk may be necessary, allowing it to dry prior to sanding. If your baseboard is beyond repair, measure and cut a new piece to fit where the old one was.
Pro Tip
When using caulk or filler, always ensure the area is clean and dry to achieve the best adhesion.
Step 5: Sand and Smooth
After your repairs have dried, it’s time to sand and smooth the surface. Use fine-grit sandpaper to gently smooth out the repaired areas, making them flush with the rest of the baseboard. Pay special attention to edges and corners to prevent a noticeable difference once painted.
Avoid oversanding, as this can cause further damage to the baseboard. A light touch is usually sufficient to achieve a smooth surface.
Step 6: Prime and Paint
If your baseboard requires painting, it’s essential to apply a primer first, especially if you’re using a different type of paint than the original. Priming will help the final coat adhere better and create a more uniform finish. Once the primer is dry, apply your chosen paint in even strokes. You may need two coats for the best result, so allow proper drying time in between.
Summary of Painting Tips:
- Use this type of roller for a smooth finish.
- Always paint in a well-ventilated area.
- For a clean edge, use painter's tape.
Step 7: Reattach the Baseboard
If you removed the baseboard, it’s time to reattach it to the wall. Line it up carefully and secure it in place with nails or screws. You may want to use a level to ensure that it’s straight. Once the baseboard is back in position, fill in any nail holes with wood filler and touch up the paint as needed.
Step 8: Final Touches
Once your paint has dried completely, inspect the baseboards for any imperfections. If you notice any rough spots or areas that need touching up, do it now. You should also clean any excess dust or debris from the work area to reveal the freshly repaired baseboards. Regular maintenance will keep your baseboards looking new and extend their lifespan.
Checklist before you start:
- [ ] Assess the level of damage
- [ ] Gather all necessary tools and materials
- [ ] Remove damaged sections if needed
- [ ] Repair with wood filler or caulk
- [ ] Sand down the surface
- [ ] Prime if painting
- [ ] Reattach baseboards if removed
- [ ] Clean the area
Glossary
| Term | Definition |
|---|
| Baseboard | A board along the bottom of a wall that covers the joint between the wall and floor.
| Wood Filler | A substance used to fill holes or dents in wood surfaces, making it smooth for finishing.
| Caulk | A pliable material used to fill gaps and seal joints, often used in areas exposed to moisture.
📺 For further insights: Watch our tutorial on repairing baseboards, which provides expert tips and techniques. Search on YouTube: "how to fix damaged baseboards".
🧠 Quick Quiz: What is the first step in fixing damaged baseboards?
- A) Repaint
- B) Assess the damage
- C) Gather materials
Answer: B — Assessing the damage helps you determine the best repair method.
📺 Pour aller plus loin : how to fix damaged baseboards sur YouTube
Recommended products
Selected by our experts
Maillot de bain de grossesse 1 pièce à coques fixes en fibres recyclées Multicolore Cache-Coeur Maillot de bain
3 Suisses FR
This wood filler is perfect for repairing damaged areas, ensuring a smooth finish when painted.
Maillot de bain de grossesse 1 pièce à coques fixes en fibres recyclées Multicolore Cache-Coeur Maillot de bain
3 Suisses FR
A quality primer to enhance paint adhesion and durability on newly repaired baseboards.