Table of Contents (12 sections)
Understanding Minor Wall Damages
Minor wall damages are common issues in homes, often caused by everyday wear and tear, furniture moving, or minor impacts. These damages can range from small dents and scratches to cracks in the drywall. Understanding the nature of these damages is crucial for effective repair. According to UFC-Que Choisir, about 60% of homeowners experience minor wall damage annually, leading to a need for DIY home fixes. Not only do these damages detract from the aesthetic appeal of your living space, but if left untreated, they can worsen over time, leading to more significant issues such as mold development or structural compromises.
For many, repairing wall damages is a feasible DIY project. By mastering this skill, homeowners can save money while improving their property’s value. Moreover, engaging in home repairs fosters a sense of accomplishment and enhances your home improvement skills. The importance of learning how to address these issues is reinforced by home improvement experts who emphasize the value of maintaining your living space.
Tools and Materials Needed
Before embarking on your wall repair journey, it’s essential to gather the right tools and materials. Here’s a comprehensive list of what you’ll need:
- Putty Knife: Ideal for applying and smoothing compound.
- Wall Repair Compound: Choose a compound suitable for your specific wall type, such as spackle for drywall.
- Sandpaper: Use a medium grit for initial sanding and a fine grit for finishing.
- Paint and Primer: Match the existing wall color for a seamless repair.
- Drop Cloth: Protect your flooring from dust and debris.
- Safety Glasses and Mask: Always prioritize safety when sanding or working with compounds.
Gathering these materials in advance will streamline your repair process and enhance your overall DIY experience. It's also beneficial to invest in quality tools; for example, using a sturdy putty knife can significantly affect the ease and quality of your repair.
Step-by-Step Repair Process
Assessing the Damage
The first step in repairing wall damage is to assess the extent of the issue. Identify whether the damage is merely cosmetic, such as small holes and scratches, or more extensive, like cracks or water damage. For small holes (less than 1/2 inch), spackling compound usually suffices. If there is visible water damage or significant structural issues, you may need to consult a professional first. Accurate assessment saves time and resources by ensuring only necessary repairs are executed.
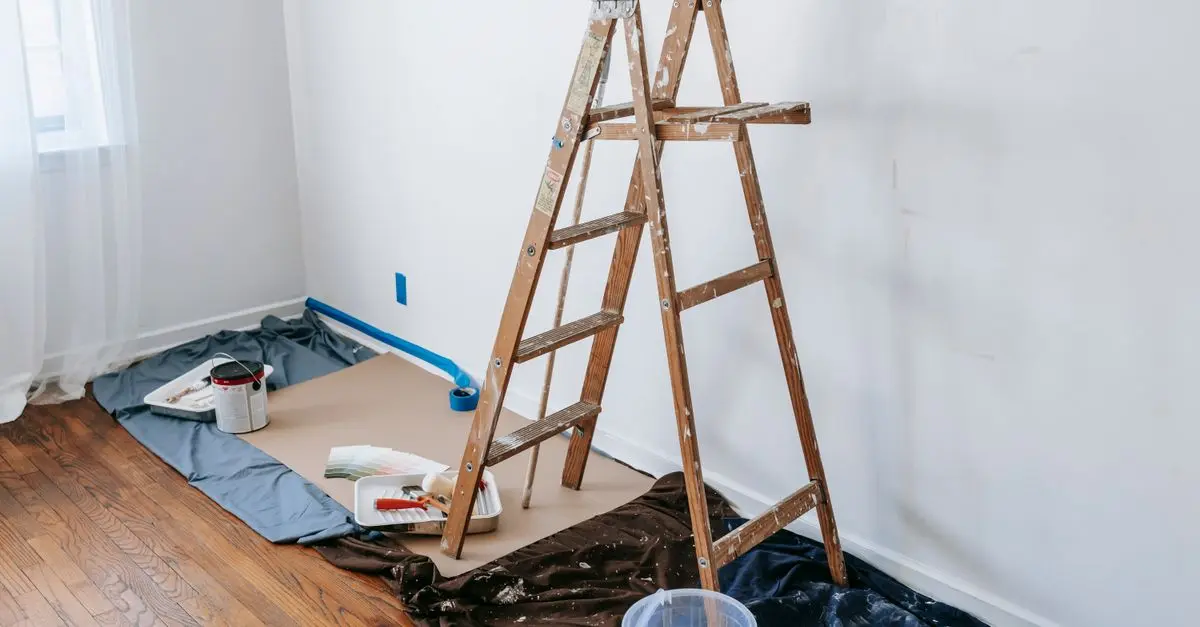
Preparing the Area
Preparation is key to a successful repair. Begin by clearing the area around the damage. Remove furniture, wall decorations, and anything in the vicinity of the repair site. Lay down a drop cloth to protect your floorings from dust and stray compound. For larger cracks, use a utility knife to create a V-shaped groove at the crack's edges; this helps the compound adhere better. Also, consider vacuuming the area to remove dust and debris, ensuring a clean work environment. Duct tape can also help in making temporary patches, especially in larger repairs, to prevent further debris from entering the area.
Applying Compound
Once the area is prepared, it’s time to apply the wall repair compound. Using your putty knife, scoop a small amount of compound and spread it over the damaged area, ensuring it fills all spaces adequately. For small holes, pushing the compound into the hole may suffice. For larger repairs, consider building up layers; allow the first coat to dry before adding additional layers. According to home repair authorities, this method ensures a smoother finish and prevents cracking. Ensure the applied compound is slightly raised above the wall surface, as it will shrink slightly while drying.
Sanding and Smoothing
After the compound has dried (check the product instructions for drying times), the next step is sanding. Start with medium-grit sandpaper to smooth out the dried compound. Avoid oversanding, as this can create dips in the wall surface. Transition to fine-grit sandpaper for a smooth finish, bringing the surface level with the surrounding wall. While sanding, use a damp cloth to wipe off any dust to check your progress. This step is crucial for a seamless repair that blends well with the existing wall surface. Proper technique in sanding eliminates visible repair patches, enhancing the overall look of the wall.
Painting the Repaired Area
The final step is to paint over your repair work. First, apply primer to the repaired area; this ensures better paint adhesion and color matching. After priming dries, apply the paint. Using a roller is often recommended for larger areas, while a brush suits edges and corners. To achieve the best results, consider applying two coats of paint, allowing adequate drying time between each coat. This not only ensures uniform color but also provides better durability against wear and tear.
Common Mistakes to Avoid
- Neglecting Surface Preparation: Skipping cleaning or taping can lead to unsatisfactory results. Proper preparation ensures that the compound adheres well and the final finish is smooth.
- Over-applying Compound: More isn’t always better. Applying too much compound can lead to cracking, requiring further repairs.
- Not Allowing Adequate Drying Time: Always respect drying times as recommended on the product packaging. Rushing can lead to peeling or other issues.
Checklist for Repair
- [ ] Assess the extent of the damage
- [ ] Gather necessary tools and materials
- [ ] Prepare the area by clearing and protecting furniture
- [ ] Apply the wall repair compound properly
- [ ] Sand the area smoothly
- [ ] Primer and paint the repaired area
- [ ] Clean up the workspace
Glossary of Terms
| Term | Definition |
|---|---|
| Compound | A material used to fill holes and cracks in walls. |
| Spackle | A lightweight compound ideal for patching small holes. |
| Sanding | The act of smoothing a surface by rubbing it with abrasive paper. |
> 📺 For further learning: DIY Wall Repair Tutorial, an in-depth look at repairing wall damage effectively. Search on YouTube: "how to repair wall damages".
🧠 Quick Quiz: What is the first step in repairing wall damage?
- A) Sanding
- B) Assessing the damage
- C) Applying compound
Answer: B - Assessing the damage is crucial for determining the repair type.
📺 Pour aller plus loin : how to repair wall damages sur YouTube