Table of Contents (13 sections)
Introduction
Painting walls is a fundamental home improvement task that can transform any space. However, achieving a professional, smooth finish requires technique and knowledge beyond just buying the right paint and brushes. From my own experience, I’ve learned that preparing well and following expert advice can make all the difference. In this article, we will explore detailed steps to ensure your wall painting projects are a success.
Step 1: Gather Your Materials
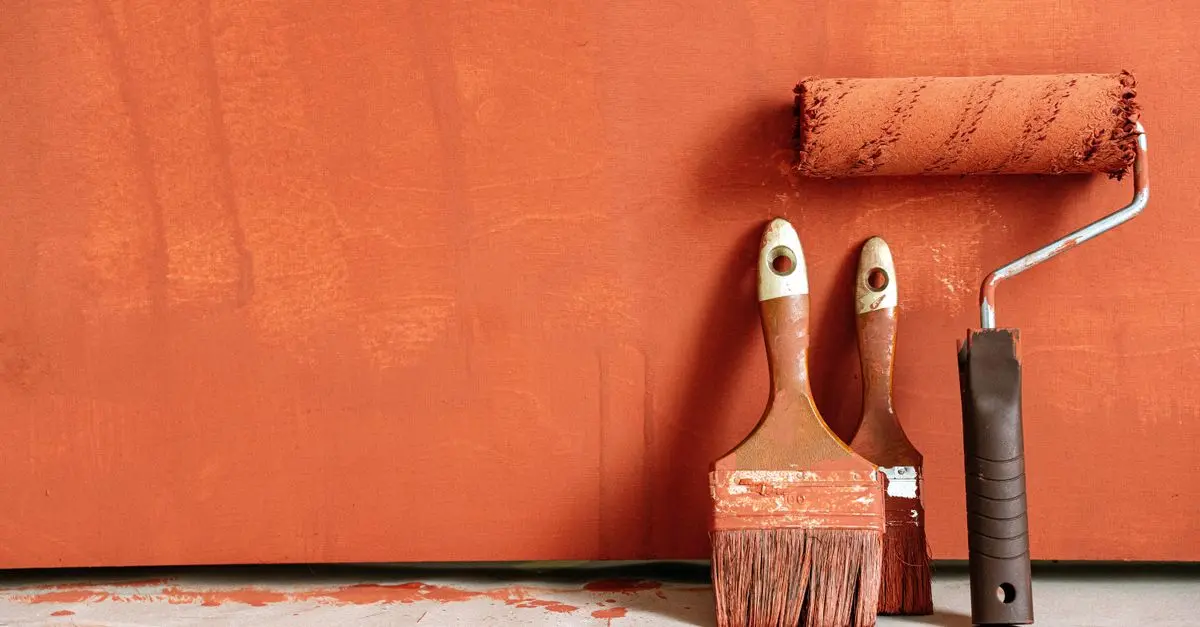
Before you start, gather all necessary materials: paint, primer, brushes, rollers, painter’s tape, drop cloths, and sandpaper. Each serves a specific purpose in achieving a smooth finish. Use high-quality brushes and rollers, as cheaper options can leave streaks and lose bristles. According to Home Depot, investing in quality tools can lead to better results and fewer frustrations.
Step 2: Prepare the Walls
Preparation is key. Start by cleaning the walls to remove dust and grease. Use a mild detergent solution for best results. Next, inspect for imperfections like holes and cracks; fill these with spackle and let dry. Finally, sand the surface smooth to ensure paint adheres properly. As stated by Benjamin Moore, sanding not only creates an ideal surface but also opens up the substrate for better paint coverage.


Naruto Tome I : Les techniques secrètes - Masashi Kishimoto
Bibliothèque verte (série actuelle)

Step 3: Apply Primer
Applying primer is essential for good adhesion and to even out the wall surface. Choose a primer that suits your wall type; there are options for drywall, masonry, and previously painted surfaces. Roll the primer evenly and let it dry fully before painting. A good primer sets the stage for the paint, making it more durable and vibrant.
Step 4: Use Painter's Tape for Precision
Run painter's tape along the edges where walls meet ceilings, baseboards, and other trim. This creates clear lines for a cleaner finish. When applying, press down firmly to prevent paint from seeping through. Remember, rushing this step can result in a messy appearance that detracts from your hard work.
Step 5: Start Painting
Begin painting from the top down. Use a technique called 'cutting in' around the edges and corners with a brush and then fill in the larger sections with a roller. This method helps in controlling drips and lap marks. Apply paint in a "W" pattern for even distribution, as recommended by most paint manufacturers.
Step 6: Allow Adequate Drying Time
After applying the first coat, patience is crucial. Allow each coat to dry completely, which is typically a few hours but can vary by paint type. Check the paint can for specific drying times to ensure optimal results. Rushing this step can cause bubbles and an uneven finish, so it's worth waiting the recommended time.


L'hypnotisme.Techniques et possibilités - André-Henri Argaz
Frontières de l'étrange
L'hypnotisme.Techniques et possibilités - André-Henri Argaz
Frontières de l'étrange
Step 7: Inspect and Apply a Second Coat
Once the first coat is dry, inspect for missed spots or unevenness. If needed, lightly sand the surface before applying a second coat. This additional coat is common practice to ensure depth and uniformity in color. According to user feedback on various DIY platforms, this extra step often yields a professional-looking finish.
Glossary
| Terme | Definition |
|---|---|
| Primer | A base layer applied to improve paint adhesion |
| Cutting in | Technique of painting the edges and corners before filling larger areas |
Checklist
- Gather quality tools and materials.
- Clean and sand walls.
- Apply primer and let dry.
- Use painter's tape for clean edges.
- Paint top-down using "W" pattern.
- Allow coats to dry completely.
💡 Avis d'expert : Don’t skip sanding and priming—these steps are crucial for a flawless finish.
🧠 Quiz rapide : What is the benefit of using a primer?
- A) Skips sanding
- B) Better paint adhesion
- C) Faster drying time
Réponse : B — Primer improves paint adhesion which is vital for durability.
Conclusion
By following these steps, your next wall painting project is bound to leave you with smooth, vibrant results. Always remember that thorough preparation and patience are key to success. Ready to transform your space? Gather your tools and get started today!
Call to Action
Explore our other DIY guides to continue enhancing your home with professional-quality results.
Recommended products
Selected by our experts